Category: Copper Coat

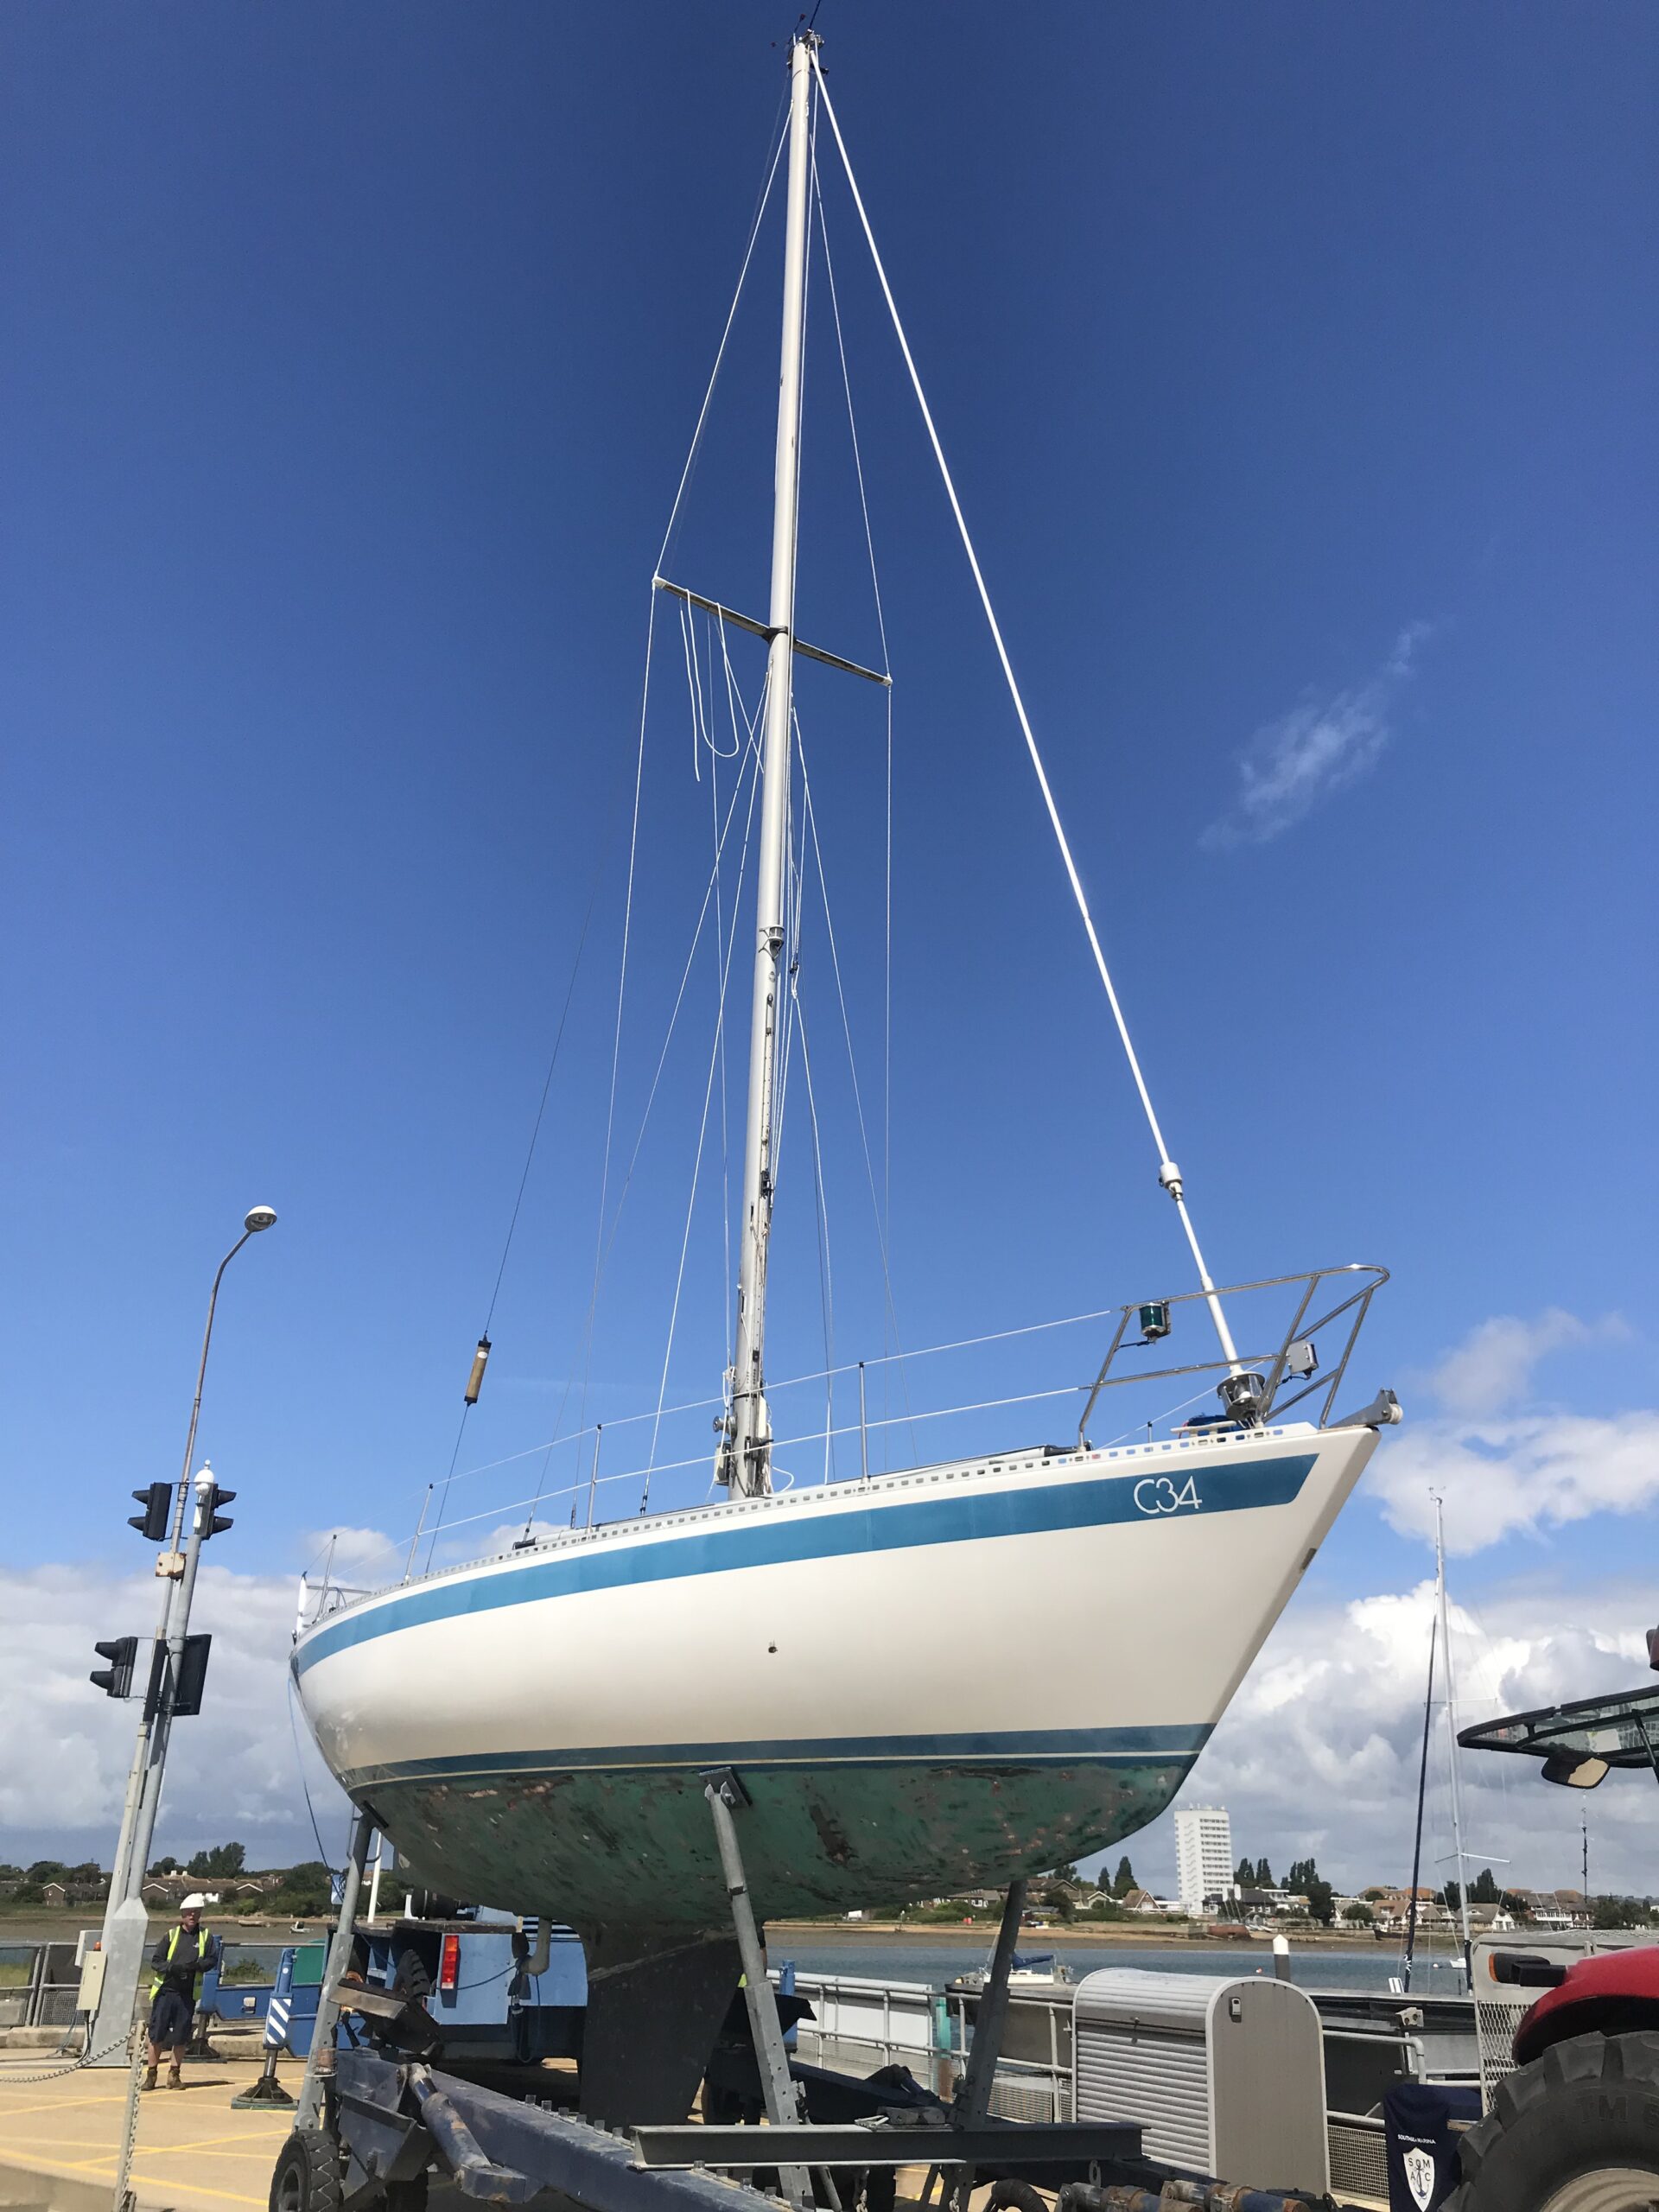
  • Osmosis Treatment & Copper Coat application on a C34 Sweden yacht

    Osmosis Treatment & Copper Coat application on a C34 Sweden yacht

    Came to JWS in 2019, Following some moisture readings it was found to have Osmosis and was in need of a full treatment. treatment,
    The owner accepted and we prepped her for the first job was to Gel peel the hull using a peeler.
    We then blasted hull to open up the hull fibers and freeing the contaminates from the matting, this aids in the drying process.

    At this point we removed all below the water line through hulls, unfortunately in this project none of the ball valves were serviceable so we supplied all new parts for 5 through hulls.
    The new thru hulls were fitted and the ares cleaned.

    We also removed the rudder, to access behind and cleaned ready for the same application as the hull.

    After blasting she is hot washed 10 times over 14 days to aid in the drying process.
    Once dry she was moved into the workshop ready for the hot-vac treatment.
    In most Osmosis treatments only 1 course of hotvac is required, however due to the high level of moisture being retained in the hull, an additional 3 courses of hot vac were needed.
    After hot vac treatment the whole hull was sanded and then 1 coat of Jotuns Epoxy megacote is applied.
    The hull is filled and faired, then the following 5 coats of Megacote is applied.

    Due to the severity of the osmosis and the amount of materials removed during peeling etc we applied an additional layer of 292 tapered cloth, this was applied using Ampreg 30 resin and peel ply cloth before the Epoxy Megacote was applied.

    After the additional layer was applied and the Osmosis prevention epoxy applied and cured.
    The boat is lifted so that the hull patches (Left from cradle) are sanded.
    Finally the keel was coated with 5 coats of Epoxy.
    It was time for some anti-foul, the owner opted for a Copper Coat application, please see this application below.

    Gallery

  • Refit of a 23FT Gaff Cutter

    This was our resident project during the winter of 2011 going into 2012. Her work list included stripping out cockpit and bring it back to the original, remove all deck fitting and if needed replace with bespoke bronze fittings. A new deck hatch was sourced and fitted along with a new teak deck. Engine controls and instruments were re-sited. A new galley, heads and fridge compartment was fabricated. On her hull we made fair the hull using gel coat then applied a cream white top coat and finally finished with a coat of anti-foul.

    Gallery

  • Osmosis Prevention followed by a Copper Coat application on a Wessex 390

    Boat came to Southsea in 2016 for Osmosis prevention followed by a Copper coat application.

    Both the hull and keel was blasted.
    The hull was then sanded down and then washed down and prepped for the application of Epoxy ME LV.
    We applied 1 coat of ME LV epoxy.
    We applied 5 coats of Corro-tech, filling and fairing with each coat.
    Applied 5coats of Copper Coat to the hull, once this cured we sanded the whole hull to activate.

    The rudder was also removed along with the lower rudder shoe, both were refitted upon completion.

    Gallery

  • Southerly 42 – Coppercoat application and more

    This southerly contacted us in November 2020, primarily for some general maintenance such as B&P, gel repairs and teak clean after weighing up their options the owners opted for the application of Copper Coat also.

    This boat has a drop keel and 3 rudders, so although not unusual this was not a standard Copper coat application, here is her story….

    Upon lift out at Southsea, we carried out a walk around inspection making note of any defects, gel repairs, teak condition etc.

    She was then blasted to remove all the old antifoul and any debri from the hulls surface.

    Once this was complete and her dry time over we grinded/sanded the drop keel and exposed plate area, applied 2 coats of ruster stopper, allowed for this to dry and applied a blast epoxy to all exposed areas, we allowed this to harden before placing her back onto the blocks.

    She was then sanded any defect, gel repair etc where marked using masking tape

    Once moved into the shed, we applied a fast setting epoxy coating to the drop keel and plate before applying 5 coats of copper coat to the same areas.

    Any gel repairs etc were repaired during this time.

    Next we prepped the hull and rudder for the Copper coat application, and applied 4 coats of Copper coat to hell and rudders, we also epoxied the keel as this was blasted along with hull.

    We did need some additional time with the rudders as the top and bottom bearing were not quite in alignment, these were corrected upon fitting and all were in working order.

    While she was out and having some work done the owners opted for a new stern thruster to be installed, the install process was as follows –

    Tent up aft space, grind area out for removal of stern tube and webs etc.
    Cut outside section of stern tube and outside of hull, clean up.
    Cut out all internal parts in association of stern tube and additional support.
    Grind away debri left and flush off so ready for internal glass work.
    Cut all required laminates for inside and out, apply all laminates using polyester resin, clean up area.
    Sand outside area back to fair finish
    Inside: Sand all workingarea, fill and fair area and apply 3 coats of finishing gel to match internal colour.
    Remove all tent and give another clean of the area
    Install thruster as per install manual/instructions

    Our final job on this bat was to clean all teak with a teak cleaner and renovator, all areas were wiped down on completion.
    We also cleaned and polished all metal work by hand.

    Want to know what the owners thought? take a look at theirs here – Testimonials

    Gallery